Total Pageviews

Sunday 31 July 2011

Exhausting day!

It's been a right toil today, I have no energy and have gotten frustrated once or twice. The manifolds are mocked up and tacked up but I for the life of me could not get one of the tubes at the bottom end to sit right. I gave up in the end and cut it off to look at again tomorrow. No point trying to do a two man job on my own and losing my rag!


I'm using an old stainless manifold For a GS engine I had lying about , I've just chopped it up to suit. It's going to be a two into one with a cherry bomb if I can ever get it right! I'll have another go in a day or so. Beer and roll-up time! :-)

Saturday 30 July 2011

Indicators!

Had a session with some bits of steel and the welder. I used tabs similer to the ones we mounted the rear indicators with and some round bar to knock up the mounts in the pictures


Today's task is to show Kayleigh how to mix 'bog' and how to sand it back using wet and dry sandpaper and a bit of soapy water. It's very likely Kay will be painting the bike herself with a bit of help from me mixing and masking so we need to make sure the preparation work is spot on.

We are waiting for the right hand side panel to arrive and then we can finish the body work and concentrate on sorting the exhausts out.

Sunday 24 July 2011

Outside the shed!

I'm just a bit chuffed, 'B' has lent me her 'Yammy' 650 flat tracker for a bit. it's got a SU carb fitted on a home made manifold and because of the noise it makes it's called 'Putty Thing'.

'Brum, brum', Kay thinking on what it could be like.

'Err, the brakes, where are the bloody brakes?'

I'm rather taken with it myself, looking forward to getting it running and out on the road. it's a massive change from the kind of thing I used to ride, perhaps I'll get to see some of the lovely scenery that's normally a blur ;-)


Kay's Baby Bobber out in the sunshine, the seat has left the building and the next time it's bolted on will be the last job of the whole build. More indicator fitting shenanigans as they occur ;-)

Shiney, shiney things!

I've had a muck about looking at mounting the rear indicators. Bit of steel 20X3 mm flat mild, a bit of drilling and a spot of tacking up and hey bloody presto.

Nice looking bits of kit thanks to Hobbit, his Harley won't miss 'em and to be honest they look just the job!
The rear end is about done now apart from the welding on the bits we have added or changed. It's about turning the bugger over soon so Alan can get in and weld all the bits we can't reach at the moment.


Alan will be round in the week to weld 'em up and I'll be thinking about the way to mount the front indicators next ;-)

Thursday 21 July 2011

Mucking about with mocking up!

I have been at it again after a bit of a rest, seems it's a few hours in the garage and the rest of the week knackered and mostly horizontal but hey any progress is good!

I have been exploring options for the wiring at the back end, the number plate mount and a bit of fiddling with a back rest our Kay has proclaimed must be fitted or else!

I've had another go with the fibre glass as well and there is no longer a gap betwixt the side panel or top cover on the left of the bike, Pictures below. Once the other side panel arrives I'll do the same on t'other side.

The original side cover lip now tucks away under the lip of the cover, much like it did with the original seat.I think it's a lot tidier and will keep most of the weather off the K&N filter we are fitting

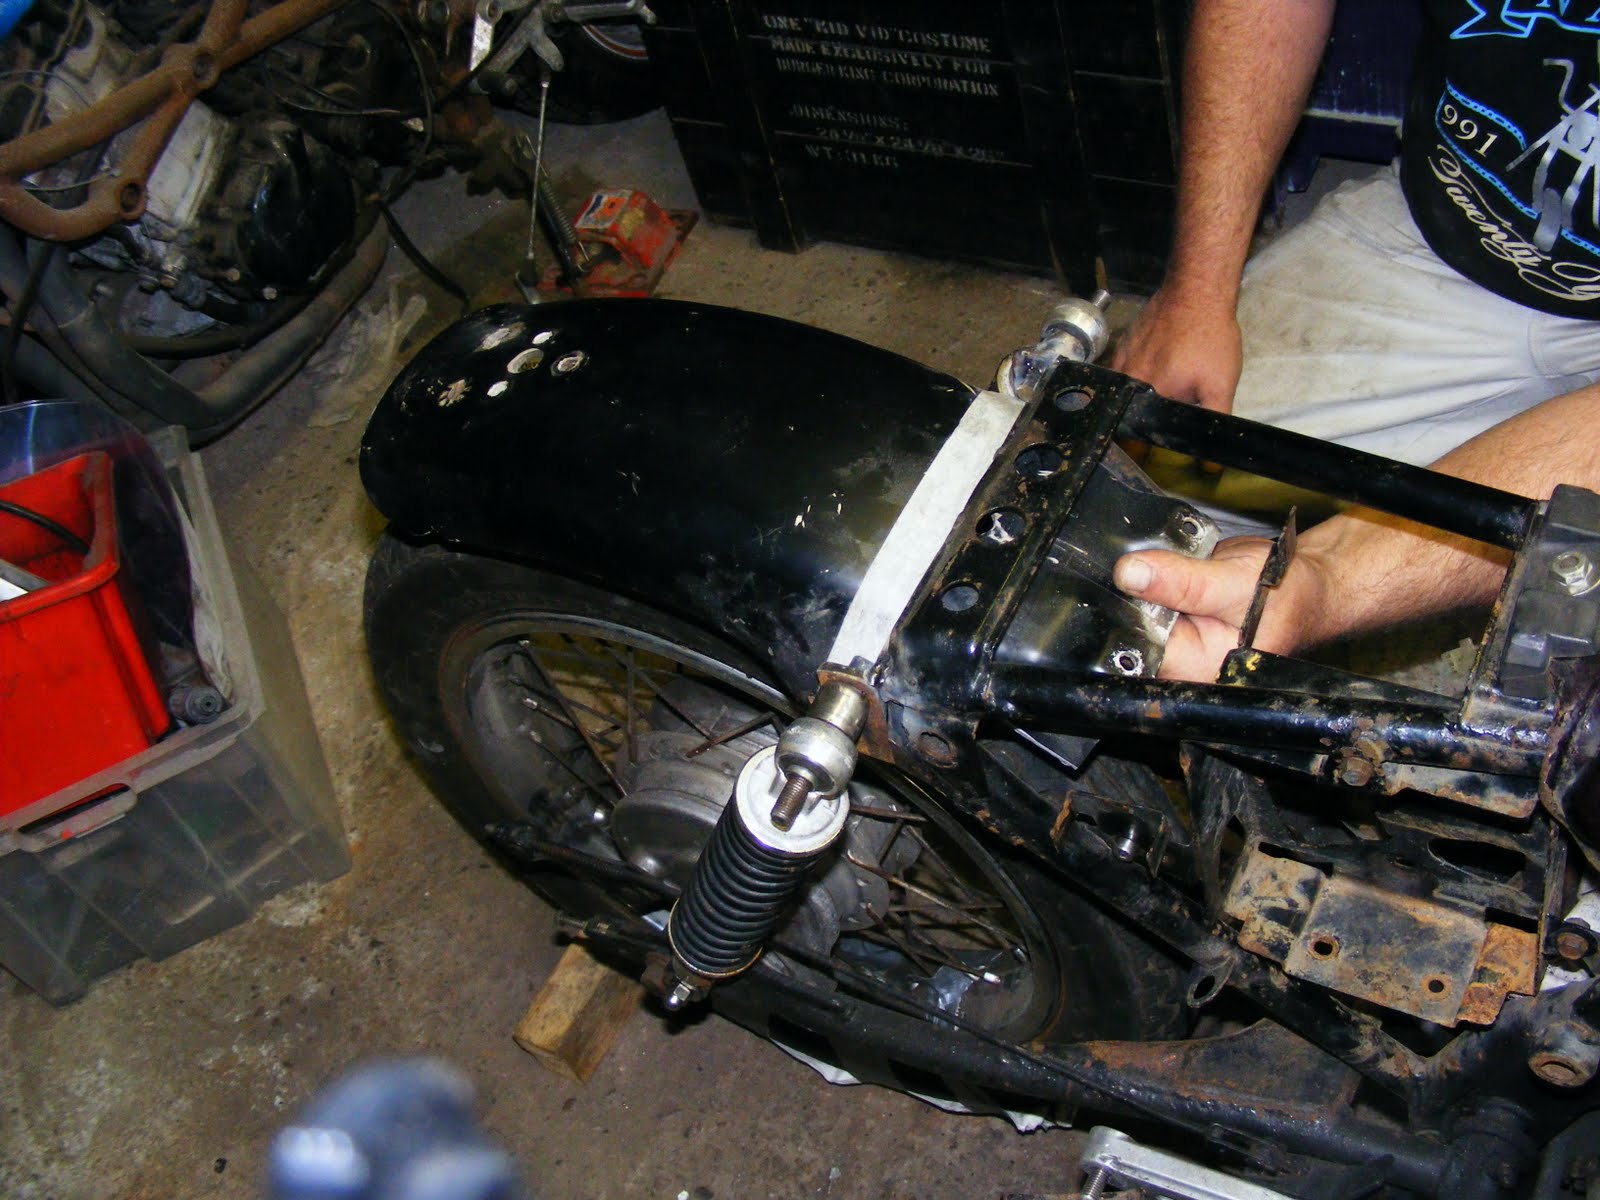
I've drilled the middle of the cross on the mud guard mount and fitted a steel tube with a hole in the bottom and near the top. The top will be capped with a welded bolt and turned down to make it pretty.

The wiring for the rear light is going up the tube so will be hidden apart from near the light itself. It carries the cross through two planes now and looks not too bad at all.

  The number plate hanger is welded to the back of the upright cross.


The aluminium mount is for the seat pad, It's off a Kawasaki so I had to file the lettering off. The mounting points for the seat pad will be picked up from behind the seat to the arms of the cross and that should stiffen the whole back end up nicely.


Time for a roll up and brew, or perhaps even something a bit stiffer!

Wednesday 13 July 2011

Mucking about wi' Fibre Glass

I have come up with an idea to hide the tank mounting rubber and keep a lot of rain away from the electrics.

Looks a bit of a mess


Cardboard covered with tin foil as a former


Looking good


Both sides too!


With the side cover rubbers installed there's a small gap but it'll be filled with a seal.


Looking the business.


And I made a start on repairing the mudguard too. I have also applied a liberal dose of 'bog' to the huge dings in the petrol tank. Then I ran out of energy and had to have a coffee and roll up ;-)

Monday 11 July 2011

Baby Bobber, Seat and Headlight

A good session in the garage with Alan welding and Mick brewing with me stripping the seat down saw us make some inroads to being closer to a full strip down. Once I'd stripped and cleaned the seat base that she was gifted by a mate Stevie, Alan welded the mounting bolts to it and sorted the pivot point for the front end.The seat is mounted on a pivot and springs and is set at a height that Kayleigh is comfortable with. It's going to be re-trimmed and have a fringe around the base.


Ignore the mess under the seat, I'm mid muck about with some fibre glass to make a cover to keep the worst of the weather away from the electrics and the K&N air filter we are going to fit.

The headlight mount is going to accommodate the horn and perhaps have some mounting brackets for a tool roll. It's a seven inch bates she was given by Steve and Sam along with the set of bars it is currently sporting, she loves the look.


More as it transpires in a mostly ordered fashion ;-)

Monday 4 July 2011

Baby Bobber, Mudguard and Rear Light Mounts.

Thanks to a visit from my mate Alien we now have some weld where it needs to be and somewhere to bolt the rear light and number plate to comply with current legislation. Just a few bits and bobs to fabricate and then it's a full strip down for powder coat and paint.


Exhausts are next while I search for switch clusters and brake and clutch levers, I have decided that if we can find a right hand side side-panel we will go with the standard kit and have them painted up to suit with the rest of the bits.

Very happy with today's progress, thanks to Alien stuff is actually staying on the bike when it's welded up ;-)

More importantly, Kayleigh-Jean is more than happy with the way things are going which is good news ;-)

Sunday 3 July 2011

Baby Bobber Rear Shock Mounts

They are also cunningly disguised as rear mud guard mounts too.


Now the more mechanically minded amongst you will remark that the mounts are on the piss! Correct! They are just tacked in with the minimum of weld for now in case I need to change them or move them slightly so they shifted a bit when I hung the weight of the swinger and wheel on them. Obviously they will have a liberal dose of hammer and weld applied in the near future by a much better weldist than I could ever be so will be bob on when complete.

Ignore all the holes in the mud guard, they will be glassed over and new ones drilled to suit the mounting points and light mounting bracket.

Methinks it may be possible to use the original battery box with a few modifications and if I can find a right hand side cover I can use them too. had to call it a draw today, recent exertions have set the sciatica off and my right leg is alternately tingling then minging with pain so a rest has been ordered.

More later this week.

Saturday 2 July 2011

Baby Bobber


This little project is for Kayleigh-Jean, she's the arty, creative one of my two girls. Kim the elder does the sporty stuff.

It's going to be chopped about a bit and the first stage was to remove the rear sub frame and fabricate new shock mounting points. Pictures of that to follow but below you can see just how much we have gotten rid of.

We have a saddle and headlight on the way along with another tank to have a look at. I'll bung a few pictures of them up when they arrive.
We need new stanchions for the forks, they are pitted to buggery and need replacing. I need to make a battery box and something to bung all the electrics in. I have to check the hubs too, they may need replacing.

We have already swapped the bars out, the set it had fitted are twisted and no use at all. The exhaust is probably the best bit on the bike and we'll be using most of it. We need the switch clusters for both sides, brake and clutch levers and the loom is falling to bits and will need some serious remedial work.

The clocks are not too bad and will be used once they have been painted up.

More as things develop